Installing an eSIM for Israel on Android takes about two minutes. This guide walks through the exact steps for Samsung Galaxy, Google Pixel and other modern Android phones, plus the APN setting and a fix for the most common activation issues.
Before you start
- Confirm your phone supports eSIM — Samsung Galaxy S20 and newer, Google Pixel 3 and newer, and most 2020+ Android flagships.
- Have your eSIM QR code ready (you receive it by email after purchase).
- Connect to Wi-Fi — you need internet to download the eSIM profile.
Not sure your phone supports eSIM?
Check your exact model in one click — then choose the plan that fits your stay.
Check my phoneStep-by-step: install the eSIM
- 1Open Settings → Connections (Samsung) or Settings → Network & internet (Pixel).
- 2Tap SIM manager or SIMs, then Add eSIM / Add SIM.
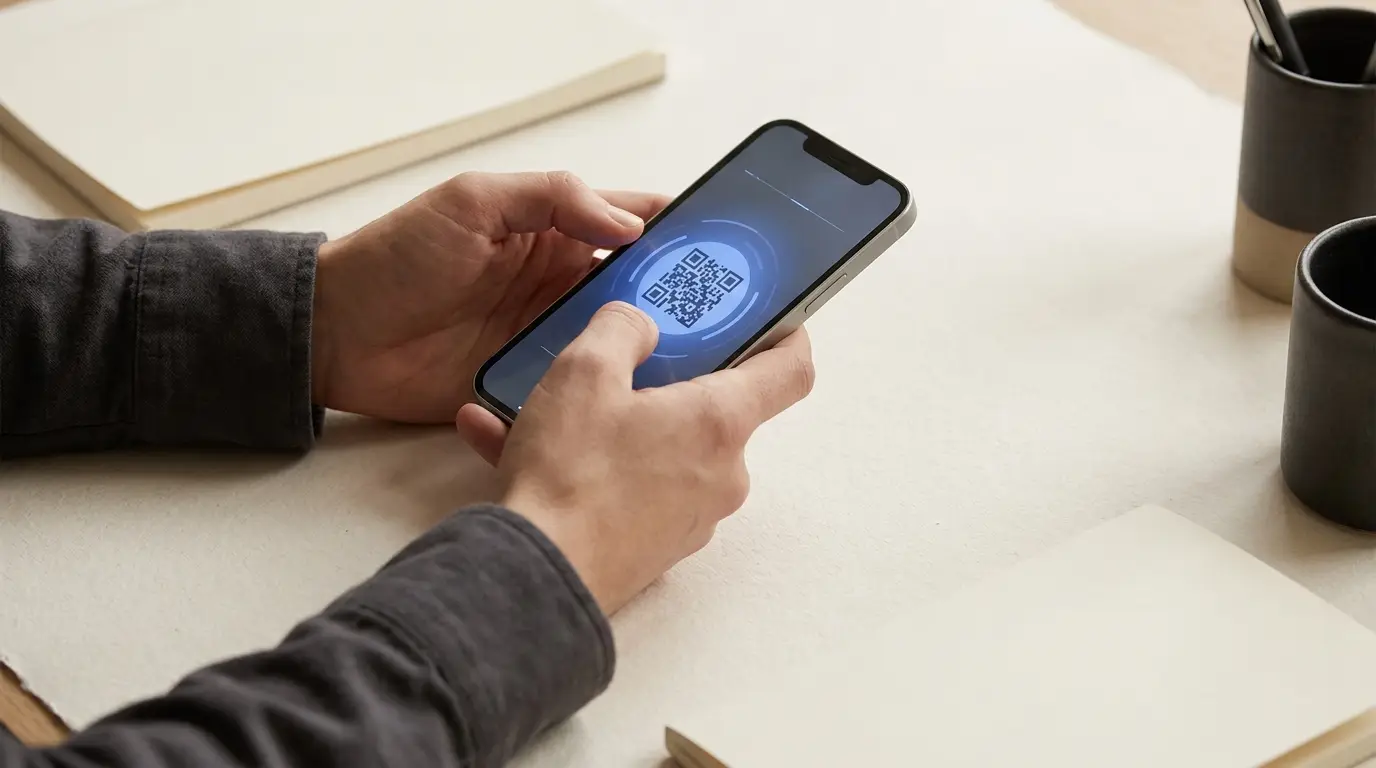
- 3Choose "Scan QR code" and point the camera at your eSIM QR code.
- 4Confirm the download when prompted, then name the line (e.g. "Israel").
- 5When you arrive in Israel, enable the eSIM line and turn on Mobile data for it.
APN setting
If data doesn't work after activation, set the Access Point Name (APN) to "internet" for the Israel line: Settings → Connections → Mobile networks → Access Point Names → add / edit → Name: Israel, APN: internet. Save and reselect it.
Troubleshooting
- No signal on arrival: toggle Airplane mode on and off, or restart the phone once you land.
- "Couldn't add eSIM": make sure you're on Wi-Fi and the QR code hasn't already been installed on another device — each QR installs once.
- Data icon but no internet: check the APN is set to "internet" and that Mobile data is enabled for the Israel line, not your home line.
- Dual SIM: keep your home SIM for calls/SMS on your own number, and set the Israel eSIM as the default for mobile data.
Once installed, the eSIM stays on your phone. On your next trip to Israel you can simply top it up with a new data plan — no need to reinstall.
Frequently Asked Questions
Which Android phones support eSIM in Israel?▾
Samsung Galaxy S20 and newer, Google Pixel 3 and newer, and most Android flagships released from 2020 onward support eSIM.
What APN should I use for an Israel eSIM on Android?▾
Set the APN to "internet" for the Israel line. This is the standard APN and resolves most "connected but no data" issues.
Can I install the eSIM before I travel?▾
Yes. Install it on Wi-Fi before departure and enable the line only when you arrive in Israel, so you land already connected.